If you are facing internet connectivity issues and experiencing slow internet speeds despite having a high-speed internet connection on your side, you might want to change DNS server to troubleshoot the problem.
Why You Should Change DNS Server?
If you’re not already aware, DNS servers are used to map website names to a particular computer where the website is hosted. And, when you browse a certain website on your computer, it looks for the IP addresses or computers where the site is hosted. As the DNS servers do all the mapping before returning you what you are looking for, your choice of DNS server may affect how quickly a website loads.
Your computer’s network settings allow you to use your preferred DNS servers – both primary and secondary. Your ISP sets the DNS servers by default, but you may have the faster ones available to use.
How To Change DNS Server On Windows 10 Manually?
If you know the DNS servers you’d prefer to use to make your internet faster, you can manually change DNS server on your Windows 10 PC. Here is how you can do that.
- On your PC, go to Control Panel Network and Internet Network and Sharing Center and click Change Adapter Settings from the left side panel.
- You’ll now see a list of all the networking devices available. You are either connected to the internet over a wired Ethernet connection or through a Wi-Fi adapter. Just figure that out and right-click the connected device before clicking Properties from the menu.
- Click to highlight the ‘Internet Protocol Version 4 (TCP/IPv4)’ option and click the Properties button.
- Select the option labeled ‘Use the following DNS server addresses’.
- Enter your preferred IP addresses in the designated fields.
- Once done, click OK, and the new settings will be saved as you’ll get back to the Properties menu.
- Here, click to highlight the ‘Internet Protocol Version 6 (TCP/IPv6)’ option and click the Properties button.
- Repeat steps 4 and 5 to enter the IPv6 DNS server addresses.
- Click OK, and the new settings will be saved.
That’s it! You have changed the DNS servers and can close all windows now and start browsing the internet as usual. You’ll be browsing through the new DNS servers now.
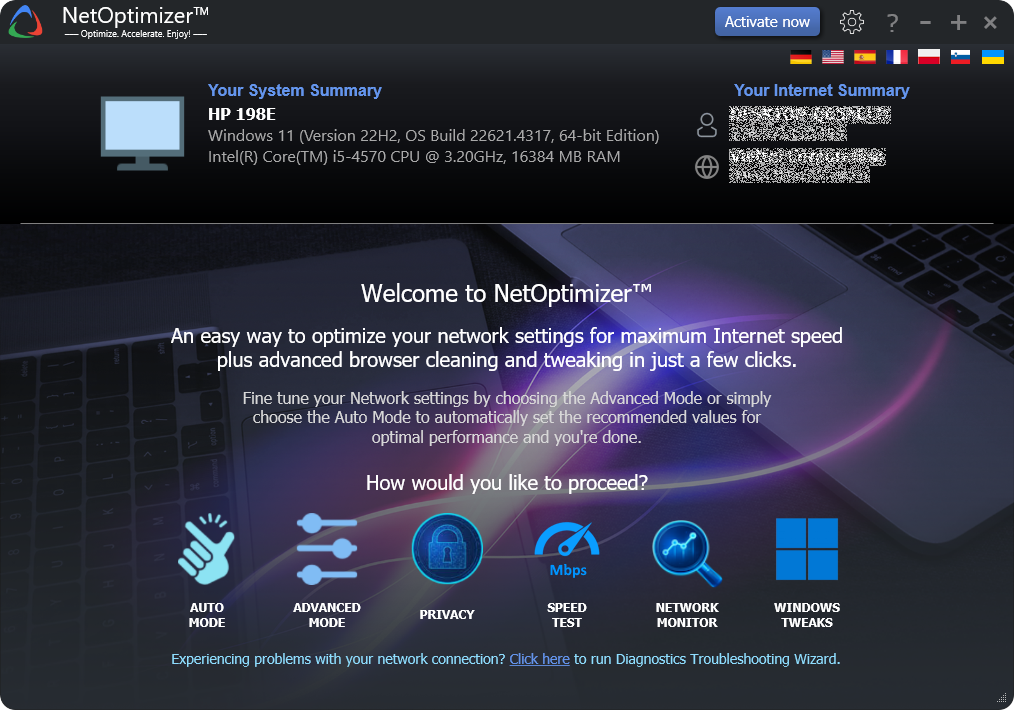
Automatic DNS Editing With NetOptimizer
If you don’t want to get into the hassle of finding the best available DNS servers and following the entire process to manually change the DNS server, you should better resort to NetOptimizer. It’s a powerful tool that can automate the process and apply optimal parameters to give you the best internet speeds possible.
Wondering how to do that? Well, it’s all too simple. Just install the tool on your PC and run it in auto mode. Yes, you don’t need any technical knowledge to change the DNS server address using NetOptimizer. Just click on automatic optimization, and you are good to go.
If you are facing internet connectivity issues and want to change DNS server to fix the problem, both these methods can be effective. Pick one that you prefer, and ditch your slow internet today!
Related posts:
 How to Configure the Best TCP/IP Settings
 How To Speed Up Browser in Windows 10
 How to Flush DNS Cache in Windows 10 or Windows 11 to Speed Up the Internet
 Slow Web Browsing? These Tips Will Help To Speed It Up
 8 Ways to Optimize Your Internet Speed
 Slow Web Browsing? Fix It In Just A Few Simple Steps!